In this series of technical articles on various components of rig and sail control, Palfrey will generically explain the primary function of key controls in a way that is relevant to a broad range of boats, using the build of two International 5.5 Metre Class yachts in Cowes, UK, to help illustrate his points.
Launching this series with mast alignment is appropriate, as it really is the foundation of the overall rig setup. Starting with placement of the mast step, from a fore-and-aft perspective, the boat’s designer will have determined where that should be in order to properly balance the boat for best performance on all points of sail.
Making Complex Mast Alignment Simple
During initial sea trials of a prototype, this mast step position—or the balance of the boat that derives from it—is a top priority. So, while this position is critical, let’s trust the designer got it right, or the team involved in sea trials gave accurate input as to the balance and overall performance of the boat and the correct position (or at least a narrow range) is settled upon.
The transverse position comes down to care taken by the boatbuilder. When I am involved in a new build, I always endeavor to be there on the day the mast step is positioned. Likewise, if I am tasked with setting up a mast on an existing boat, the first thing I will check is the transverse positioning of the mast step, as this will be a key driver in performance symmetry from tack to tack.
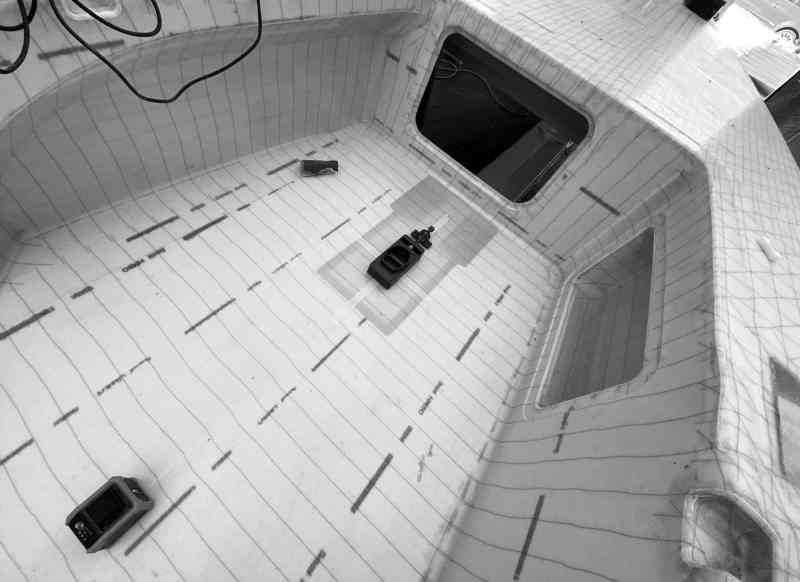
On a new build, such as our 5.5, the mast step is placed into position while the boat is still on its level planes—the hull is level, the keel is dead vertical and the mast port in the deck will have been cut in the exact center of the deck. Or, if the mast port is molded into the deck, the deck is accurately placed before being bonded to the hull. Then, using a laser or plumb bob down from the center of the mast port, the centerline for the mast step arrangement is established. If you are having a new boat built and only inspected the build process once, this is the time.
On an existing boat, if you are having trouble setting up your mast symmetric from tack to tack, or you have noticed that it performs better on one tack than the other or has a different feel/balance from tack to tack, check the rig’s alignments. It’s not difficult to do and certainly easier to check than foil symmetry and foil alignments.
I take a pragmatic view to rig alignment on an existing boat. I think of things in terms of what is presented to the water and air. I then align those with each other, as opposed to ensuring every component (including the hull and chainplates) is perfect. I set the rig up in the same vertical plane as the keel. This is done on land and using a laser level (not that expensive these days – or even cheaper to hire for a day). It’s best done in dim light, so the laser light can be easily identified. The laser device is positioned on a solid platform, directly behind the boat by a boat-length or two so you can sight directly through the backstay to the sail track on the mast, with no obstructions.

Once the laser is set up, I’ll ensure the rig is at its base settings without any transverse chocking at deck level. I then level the keel vertically, by jacking one side of the trailer if required, so that the trailing edge of the keel is perfectly aligned with the laser light. I then project the laser light vertically up the mast. My first focus is on the hounds height (where the cap-shrouds are fixed to the mast). I use a set of binoculars to better view the laser-light beam on the rig. If it’s perfect, which doesn’t solve the asymmetric performance conundrum, it may be time to think about surveying the foils. But at least you have cancelled out the rig-alignment variable.
If the mast is off to one side at the hounds, I adjust the cap shrouds to bring the center of the mast to the laser-light. The second step is to progress down the mast to the point where the lower shrouds join the mast. Once happy with that, the third area I inspect is the mast port on the deck. I measure there to see if the mast is now naturally sitting off center. Chances are, that if you had to make adjustments to the shrouds, the mast will be off to one side, relative to your mast port or the transverse mast chocks you were using. If the differences are small (say 5mm or less), I will generally make custom chocks to support the mast on this new centerline, but I first confirm the mast sets up symmetric from tack to tack under sailing loads with these new shroud settings. At that point, I only adjust the lower shrouds to achieve a straight mast.
In order to get the most from our mast through the 20-knots true windspeed range (where we’d like a soft mast in light air and a stiff mast in heavy air – particularly so if class rules limit the number of mainsails that can be used in an event), we need some form of adjustment at the step of the mast. Jud Smith, one of the most decorated one-design keelboat sailors of our generation, once told me that the first thing he looks at when checking the set-up of a boat is the depth of the lower mainsail stripe, as it drives the overall power and setup of the whole aero package.
—Andrew Palfrey
If the mast is a long way from being aligned to the keel in a vertical plane, it indicates not enough care was taken in the build phase. It’s likely the keel is not aligned vertically to the hull, which sets up an asymmetry to how the canoe-body of the hull reacts from tack to tack (this is also a “foil” which generates lift and drag). This is a whole new can of worms that may require re-alignment of the keel. Oh boy . . .
Back to our 5.5 Metre boats, which are new builds and have had great care taken in the placement and alignment of hull, foils mast port and mast step. Every class or type of boat has set parameters. In the 5.5, the “J” measurement is fixed at a static measurement under the rules – meaning that the mast is secured at deck height with no movement fore-aft. This is identical to most larger keelboats.
In order to get the most from our mast through the 20-knots true windspeed range (where we’d like a soft mast in light air and a stiff mast in heavy air – particularly so if class rules limit the number of mainsails that can be used in an event), we need some form of adjustment at the step of the mast. Jud Smith, one of the most decorated one-design keelboat sailors of our generation, once told me that the first thing he looks at when checking the set-up of a boat is the depth of the lower mainsail stripe, as it drives the overall power and setup of the whole aero package.
Having an adjustable mast step gives us direct influence over the lower part of the mast and therefore that lower-stripe area of the mainsail (generally 25 percent up the sail from gooseneck to mast-tip). With a fixed J measurement, if we move our mast step forward without changing other parameters (such as headstay length), we are straightening the mast, or perhaps inverting it in the fore-aft plane. This also acts to “stiffen” the lower-mast, as any backstay or mainsheet load applied will see less bend occur in that area. In heavy air, this is desirable, as it also helps to achieve more forestay load, which results in less forestay sag and a less dynamic forestay in waves (thus giving us a more static jib shape).
With a deck-stepped mast (like most sportboat classes), we are looking to achieve the same characteristics in the mast section. But as we do not have the mechanical leverage between the mast step and the mast port to work with, we alter the rigidity of the mast with the aft-swept lower shrouds and boom vang. Fundamentally, this all about setting up a marriage between the spar and sail, but also importantly between mainsail and jib—so we achieve not only the right amount of power, but balance in the aero package.
So that’s the “why.” Let’s take the conversation over to the “how.”
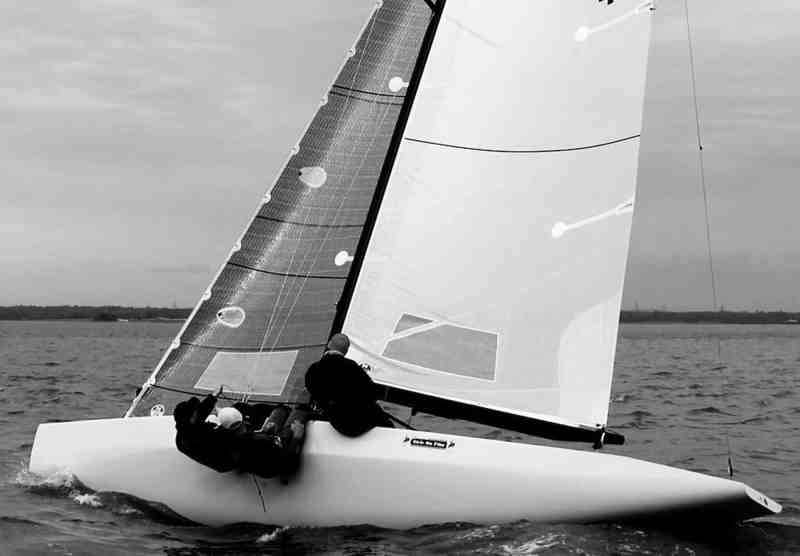
On the 5.5 Metre, we are in a unique position where the mast is too stiff for the sail plan. Carbon-fiber spars are allowed, but the class’s minimum mast weight is more suited to an alloy spar weight, which means the spars are quite stiff. In 25 knots of wind, that stiffness is handy, as the mast is very reliable and totally stable, with the forestay carrying very high loads without the mast over-bending via compression.
Conversely, in light air, with reduced loads on rigging and sails, we generally need to “soften” the mast in order for the bend to better marry to the luff curve of the mainsail, and in some cases generate less forestay loads, so the forestay does sag and add extra depth and power to the jib. We will do this by moving the mast step aft.
With a fixed J measurement, if we move our mast step forward without changing other parameters (such as headstay length), we are straightening the mast, or perhaps inverting it in the fore-aft plane. This also acts to “stiffen” the lower-mast, as any backstay or mainsheet load applied will see less bend occur in that area. In heavy air, this is desirable, as it also helps to achieve more forestay load, which results in less forestay sag and a less dynamic forestay in waves (thus giving us a more static jib shape).
—Andrew Palfrey
But in light air, without the loads, the mast is too stiff and straight. This has been somewhat overcome by raking the spreaders further aft for light wind locations and designing light air mainsails with less luff curve. That’s fine until you are caught out with the “wrong” mainsail. For this reason, we employ a system that pushes bend into the rig for lighter winds by moving the step aft. It gives us some extra range for the mainsail and also allows us to “mode” the sail plan deeper for more power/height, as opposed to flatter for less drag/faster forward.
There is one other complicating factor when designing a mast step system for the 5.5 Metre. When sailing downwind, it’s fast to rake the mast so far forward that the tip of the mast is well forward of the mast port. This is achieved by allowing the mast step to move up to 100mm when the backstay is released. In this respect, it’s very similar to the Star boat. So, unlike a larger keel-boat, it is not simply a matter of moving a mast step fitting to a static location. We need control and stability upwind, but total freedom of movement downwind.

As I write this, the creative and collaborative process is in full swing between sailors, designers, builder and sailmakers. We have been testing prototype ideas on our existing boat in the best way I know how—which is sailing the boat! Stay tuned.