No boat is perfectly symmetric or at maximum/minimum tolerances when you first purchase it. The closer you can get it to perfect, the better it will sail. To begin, you need to take some accurate measurements, which can be done with just a little time and a few simple tools — often a plumb bob, measuring tape and a couple of ladders.
Once you know where everything is, you can make the necessary modifications. The key is to establish a centerline and baseline, and see what you learn about your boat. Then you can decide which projects will have the biggest impact, given your time and money commitment.
Below the waterline
If you’re interested in making your appendages line up and parallel to the bow, start by leveling the boat to the bow since this is the hardest thing to move. Hang a plumb line off-center of the top of the bow. The forestay pin is the best place. Level the boat by adjusting the cradle, shims under the trailer tires, etc. Stand back as you’re adjusting it, and you should see the whole bow vertical with the plumb line.
Next, hang another plumb line down the front and back of each foil. Drop another plumb line down from the center of the transom. Finally, take another line and put it between two heavy objects (bricks work well), tensioned just above the ground and just kissing the bottom of the bow and stern vertical plumb lines. This will give you a good idea about the amount of work that lies ahead. From this line you can see if the appendages are vertical, parallel to the centerline, and in line with each other. If you’re not interested in removing the keel to adjust it, which is probably beyond the time and skills of most people, then forget about beginning with the bow and just start by making the keel vertical. Follow the same process, with the plumb bob off the trailing edge and shimming the trailer, etc. You still need a plumb line hanging from the bow, except this time tape it to the centerline at the waterline and hang it to the ground. Basically, if you’re not going to adjust the keel, start with this as the fixed point and make everything line up with it. If you are more ambitious, then begin with the bow and work from there.
If you have a centerboard boat, set the boat on a high trailer, sawhorses or lift so the centerboard and rudder are in their normal sailing position. I don’t like to do this work by flipping the boat upside down because then the board doesn’t hang in the case the same way. You may also discover that the centerboard moves a bit in the centerboard trunk. If that’s the case, push it to either side and make sure the slop is even on each side. You may need to glue some shims in your centerboard trunk using Teflon or something comparable to reduce the play and make the board vertical.
Now that the keel or centerboard is vertical, hang another plumb line off the rudder. On a transom-hung rudder, you can pretty easily shift the gudgeons and get the rudder vertical or maybe shim the pintles where they bolt to the rudder. For rudders where the post goes though the hull, I’ve seen people cut rudder bearings out and move the top bearing over a bit, or fair the rudder stock where it fits into the bearing so that it shifts over a little bit. You just have to improvise, as every boat is a little different. You won’t be able to get it perfect all the time, but you can at least work toward that.
On deck
Here, everything must be in line with the forestay and the backstay because that’s what the mast essentially hangs off. The boat still has to be level off the bow or centerboard/keel. By using gravity and leveling the boat, you can shift the centerline up to deck level and even back down to the mast step.
Set up a baseline by running a taut string down the center of the boat, from the forestay terminal to the backstay terminal. If you have two backstay terminals, such as on a J/24, find the point between them and use that. Most boats don’t have a flat deck, so put a post or ladder in front of the boat and another behind the boat to raise the string so it is not affected by the deck elevation. From this line you can drop a vertical plumb line down anywhere and mark the centerline for other measurements, as well as measure out 90 degrees for jib track, jib lead and shroud positions.
Once you’ve established this centerline on deck, check the location and symmetry of jib leads, shrouds and mast partners. The partners are one of the simplest measurements to adjust and rarely done. A good litmus test to know how carefully a boat has been worked on is to look at the partners. Whenever I get on a boat where the mast is sitting perfectly in the middle of the partners, I question if the boat has ever been measured well. On most boats, you can sand out or fill in on one side, put a shim in there, or use a product like Spartite to get the mast centered in the boat and the opening.
Measure out from the centerline to the shroud bases to see if they’re in the same place. These are hard to adjust as they have a lot of structure. But there is typically a tang as a terminal and a U-fitting that goes over the tang. You may find a gap where the U fits over the shroud tang. Using some washers in these gaps, you can shift the shrouds few millimeters and get the shroud base close to symmetric. If it’s a smaller boat, bend the tangs a bit, or wedge a washer or something comparable in under the deck to move the tang farther in or out.
Measure the distance from your shrouds to the forestay, on the diagonal, to see if they’re the same distance aft. This is difficult to change, but if you can slightly elongate a hole or wedge the shroud with a washer, you might be able to get the measurements closer. Take the same diagonal measurement for your jib cars to be sure they’re the same distance aft from the forestay and from centerline. You might discover that you have to drill some new holes in the tracks or reposition the tracks a little.
From there, because the boat is still vertical, measure down from the deck centerline string to the mast step. Drop a plumb bob to the bottom of the boat in two spots and mark those points. Then draw a centerline along the bottom that will tell you where your mast step is positioned, relative to the boat’s centerline. It can also give you a good measurement on your centerboard pin location. My mantra is, “Trust nothing.”
The Rig
With the keel still lined up vertically, the next step is to translate this to the mast and get the centerboard and mast lined up in the same plane. It’s challenging because the hull is in the way. A simple way to measure this is to set up a ladder well behind the boat and hang a line from the top step of the ladder. Move it so when you step back and look through the line, it lines up with the top and bottom of the keel. Then step back a bit farther so you can site the keel and mast with the string. You’ll probably have to move closer to the ground to get the angle necessary to align the mast and the string. Basically, you’re continuing the line from the foil, vertically, up through the rig. On bigger race boats, we set up a laser line at night to check the alignment. But for a fraction of the cost and energy, you can do it this way and get pretty close.
After you adjust the turnbuckles and you’re happy with the alignment, make sure you take some measurements. Use calipers to measure the turnbuckle gap on each side so you can reproduce this alignment. What you will usually find is that one side is shorter than the other, and that is the number to remember.
A lot of people measure the spreader angle with the mast on the ground or on a couple of sawhorses, but that’s not putting the mast in its normal sailing position, and it’s just not that accurate. I always check dimensions like that with the mast up. With the mast up and rigged, I find a point on the forestay that is about the same height as the spreaders and put a mark there. I then measure aft to the end of each spreader. If I want to double check it, I make the same type of measurement from the spreaders to the backstay. That angle or distance has a significant effect on the mast or the rig, so the two sides really need to be symmetric.
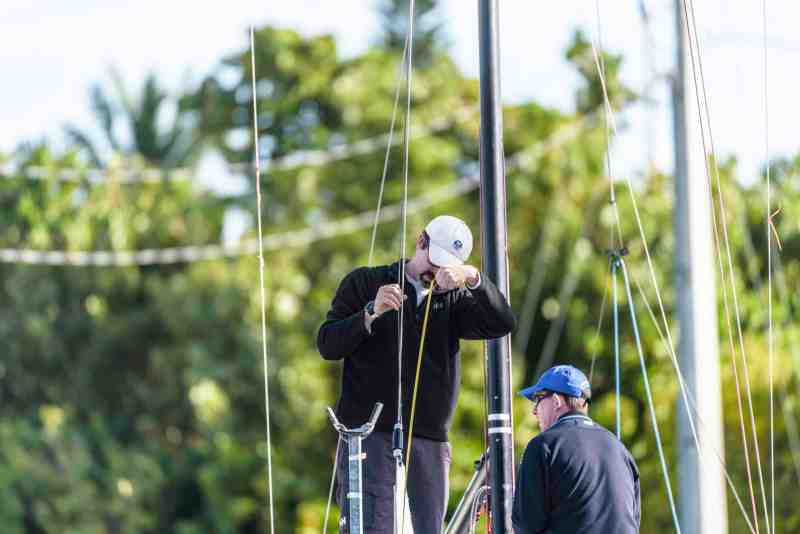
How do I get up there to take that measurement? I’ve been known to climb nearby trees and telephone poles. I’ve used a boat hoist, tying a loop in a rope to put my foot in, putting it on the hoisting hook, and then raising myself up to where I can take the measurements. Improvisation is often the name of the game. How to make adjustments is another story, and that really depends on how your boat is built.
None of these measurements are really time consuming. When I was sailing Lightnings, they took only about half a day. And once you mark the centerline, you can even do other measurements over time. With this whole process, you will find a few things that will improve your speed and will allow you to reproduce settings much quicker on the opposite tack.


