Centering a Mast
Many sailors incorrectly assume that the deck of their boat is square to the keel, but that’s rarely the case, especially on a round-bottomed boat like the J/24. Because of this incorrect assumption, the mast ends up being “centered” a few degrees off center, with respect to the keel. This can end up affecting speed and pointing from tack to tack.
Over the many years on the J/24 traveling circuit, I’ve put up my fair share of masts, and use a pretty simple step-by-step method to correctly center the mast in the boat. Once a mast is centered, this method is easily repeatable every time the boat is rigged. It works especially well for any boat with fixed keel sitting high on its trailer.
First, a couple of important notes before you get started: this must be done while the boat is on the trailer, and it’s good to place your boat in a parking lot with approximately 60 feet of clear space behind it. Let’s get centering.
1. Remove the rudder and trailer box so that when you’re sighting the trailing edge of the keel from behind you have a clear view of the entire trailing edge.
2. To distinguish the trailing edge, use a marker to color in the top 2 inches of the trailing edge and the bottom 2 inches so that they are easy to see from a distance of 60 feet. If the keel is a dark color, use white rigging tape.
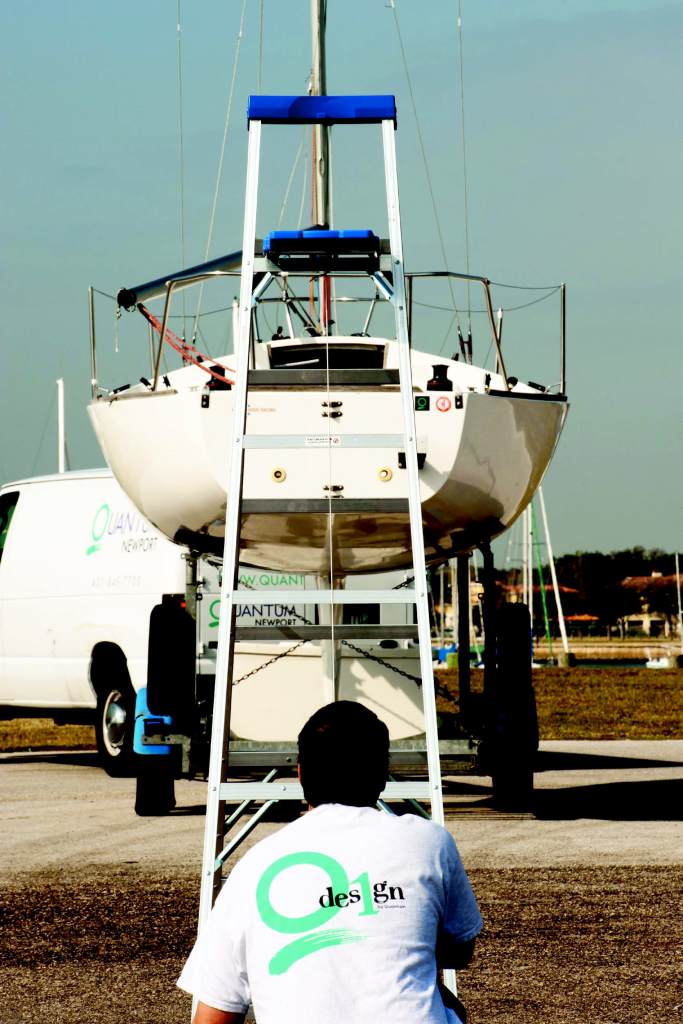
3. Set up a ladder, preferably a 6- to 8-foot stepladder. You can use a 7- to 10-foot rigid ladder that’s placed up against another boat.
4. Place the ladder about 60 feet directly behind the boat.
5. Tie a string (white nylon kite string works well) between the top and bottom rungs of the ladder. Tighten the string so it’s taut. Make sure an intermediate rung of the ladder isn’t distorting the string. This will be your sight line.
6. Sight through the string to the trailing edge of the keel, looking upward from the keel.
7. Adjust the string so it runs through both the mark at the bottom of the keel and the mark at the top of the keel.
8. Once you’ve got the keel and string in alignment, sight up the line to the tip of the mast. This is the most important step. It helps to kneel in order to get a steady, careful look. If you’re all good, what you should see is the trailing edge of the keel, both bottom and top, lined up with the mast all the way to the top. But since this is rarely the case the first time you step the mast, you will probably need to make adjustments.
9. If you need to make adjustments, place a crewmember up on the boat and do the following: Remove all blocks at the partners and detach the lower shrouds from the chainplates. If your mast is off center, use the uppers only to get it back in line with the keel. Once the mast is in line with the keel, reinsert your mast-partner block(s) by first blocking the mast at the max “J” dimension (the measurement from the intersection of the stem and sheerline at the bow to the bottom edge of the black band on the mast, visible below) then block it side-to-side.
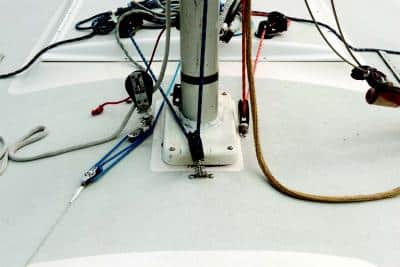
If you have a mast collar, which I highly recommended, block the mast from below deck and then drill the holes for the mast collar. Once your mast collar is in place, you can go ahead and set the pre-bend.
10. With our J/24 mast, we set the rig at 20 on the uppers and 15 on the lowers (using a Loos Model B wire tension gauge), and then move the mast butt to get the desired pre-bend. Our J/24 sails call for 2.5 inches of pre-bend: to achieve this, move the mast butt forward for less pre-bend, or back for more pre-bend. Remember to re-tune after adjusting the mast butt, then re-measure pre-bend. Launch the boat and get sailing.


