Without much snow on the local ski hill, I had no excuse not to spend some time indoors over the holidays, working on the Sled. Though my father and I have been working on the boat for the past few months, the results are only just now beginning to show. Over the break, we finished making epoxy repairs, gave the boat one final pass with 320-grit sandpaper, vacuumed and prepared the surface for varnishing, and applied the first coat of varnish. Here’s a step-by-step look at the last few weeks:
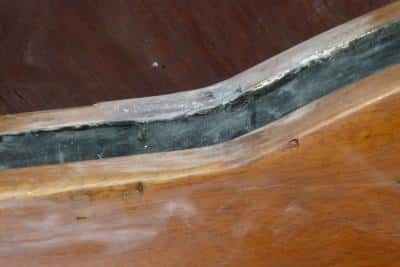
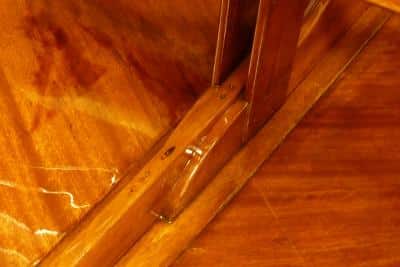
1. In order to repair the cracks at the “base of the mountain” in the centerboard trunk, we made a dam with masking tape, filled the indentation with epoxy, scraped and sanded the hardened epoxy flush, refilled the remaining indentations with another batch of epoxy, then scraped and sanded it flush with the contour of the trunk. Finishing off the final stage of the repair (above) felt kind of like sculpting.
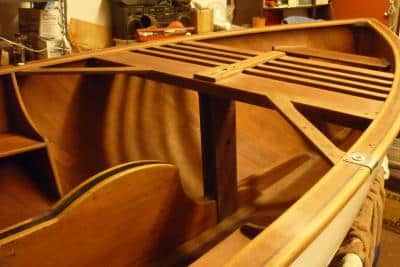
2. With the epoxy repairs completed, we sanded the entire boat with 320-grit paper, focusing on the hard-to-reach areas that we might’ve missed on previous passes. By this point, the wood was feeling really smooth.
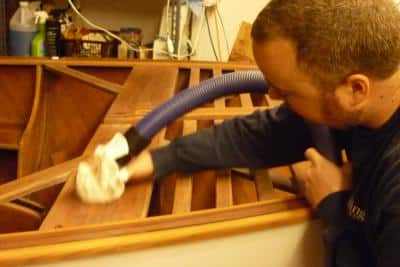
3. After sanding, a critical step is to remove all dust from the work area. We vacuumed out the garage, made several passes with the vacuum through the entire boat, and finished by placing a clean rag over the vacuum’s brush attachment and making a final pass. From here on out, any dust on clothes or hanging in the air will create setbacks.
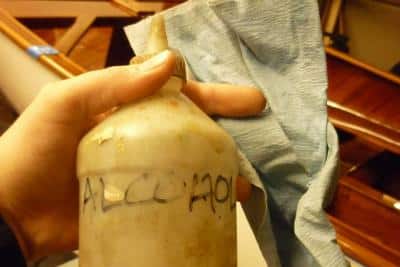
4. Once finished vacuuming, we soaked shop cloths with denatured alcohol and wiped down the entire boat. Whenever the cloth turns yellow with varnish dust, it’s time to fold over a clean side.
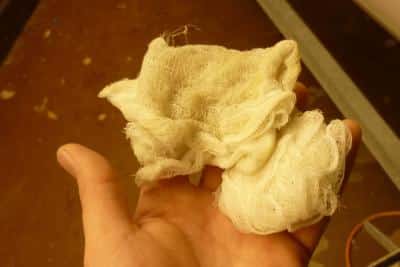
5. The final step before varnishing is to take tack rag—a piece of cheese cloth saturated with sticky varnish—and wipe down the boat. This picks up any remaining dust particles that the alcohol wipes may have missed.
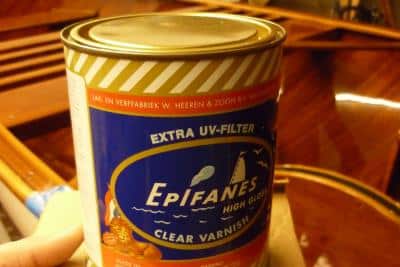
6. We needed about a quart of varnish for the first coat. As you make your way around the boat, it helps to set the can on a square of cardboard, which protects against drips and scratches.
7. I started varnishing with the hardest-to-reach places (like the base of the mast step, beneath the grating) and worked my way out of the boat. Although the varnish allows for a few minutes of working time before it sets up, you don’t want to revisit a section once you’ve left it. Working from the inside out, you leave yourself an escape route, and you don’t have to worry about leaning your elbow in the tacky section you just varnished. The key to applying varnish, says my old man, is you need to generously smoosh it into the nooks and crannies with your brush, and then even out the coat with long, overlapping strokes.
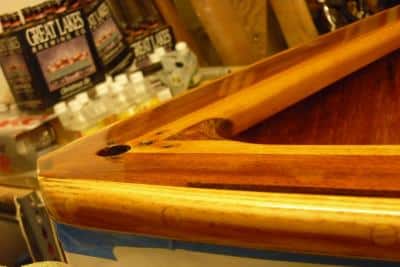
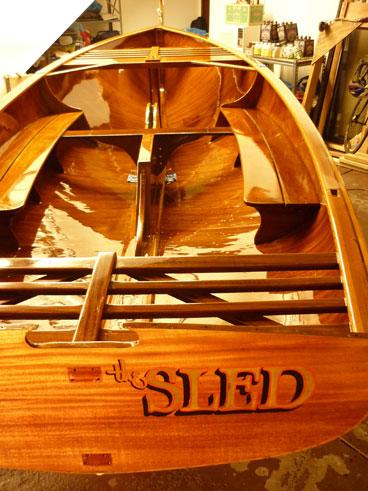
8. With sandpaper, epoxy, and varnish, the gray, sun-faded blemishes on the bow have magically disappeared (and, since the time I took this photo, so have a number of the Christmas Ales in the background).
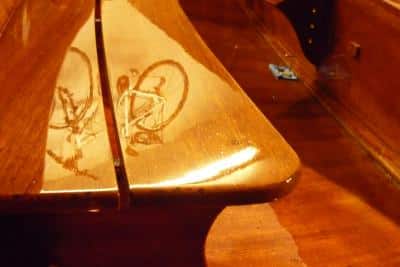
9. The varnish flowed out nicely—you can even see my mom’s bike reflecting in the finish on the port seat (above). But we’re not happy about the dust particles that settled into the finish, despite our best efforts to prepare the surface. As the varnish was drying, an overhead heater in the garage may have switched on, puffing out some dust onto the boat. We’ll have a chance to smooth away some of the dust particles when we rough up the surface with Scotch Brite pads prior to applying the second coat. Still, it feels like the dust won Round 1.
10. It’s not perfect, and we still have another coat of varnish to apply, but the Sled is starting to look pretty good!